Deep Dive: Making Art Prints Using Gel Plates

I thought I would repost this for people who want to learn gel printing. 

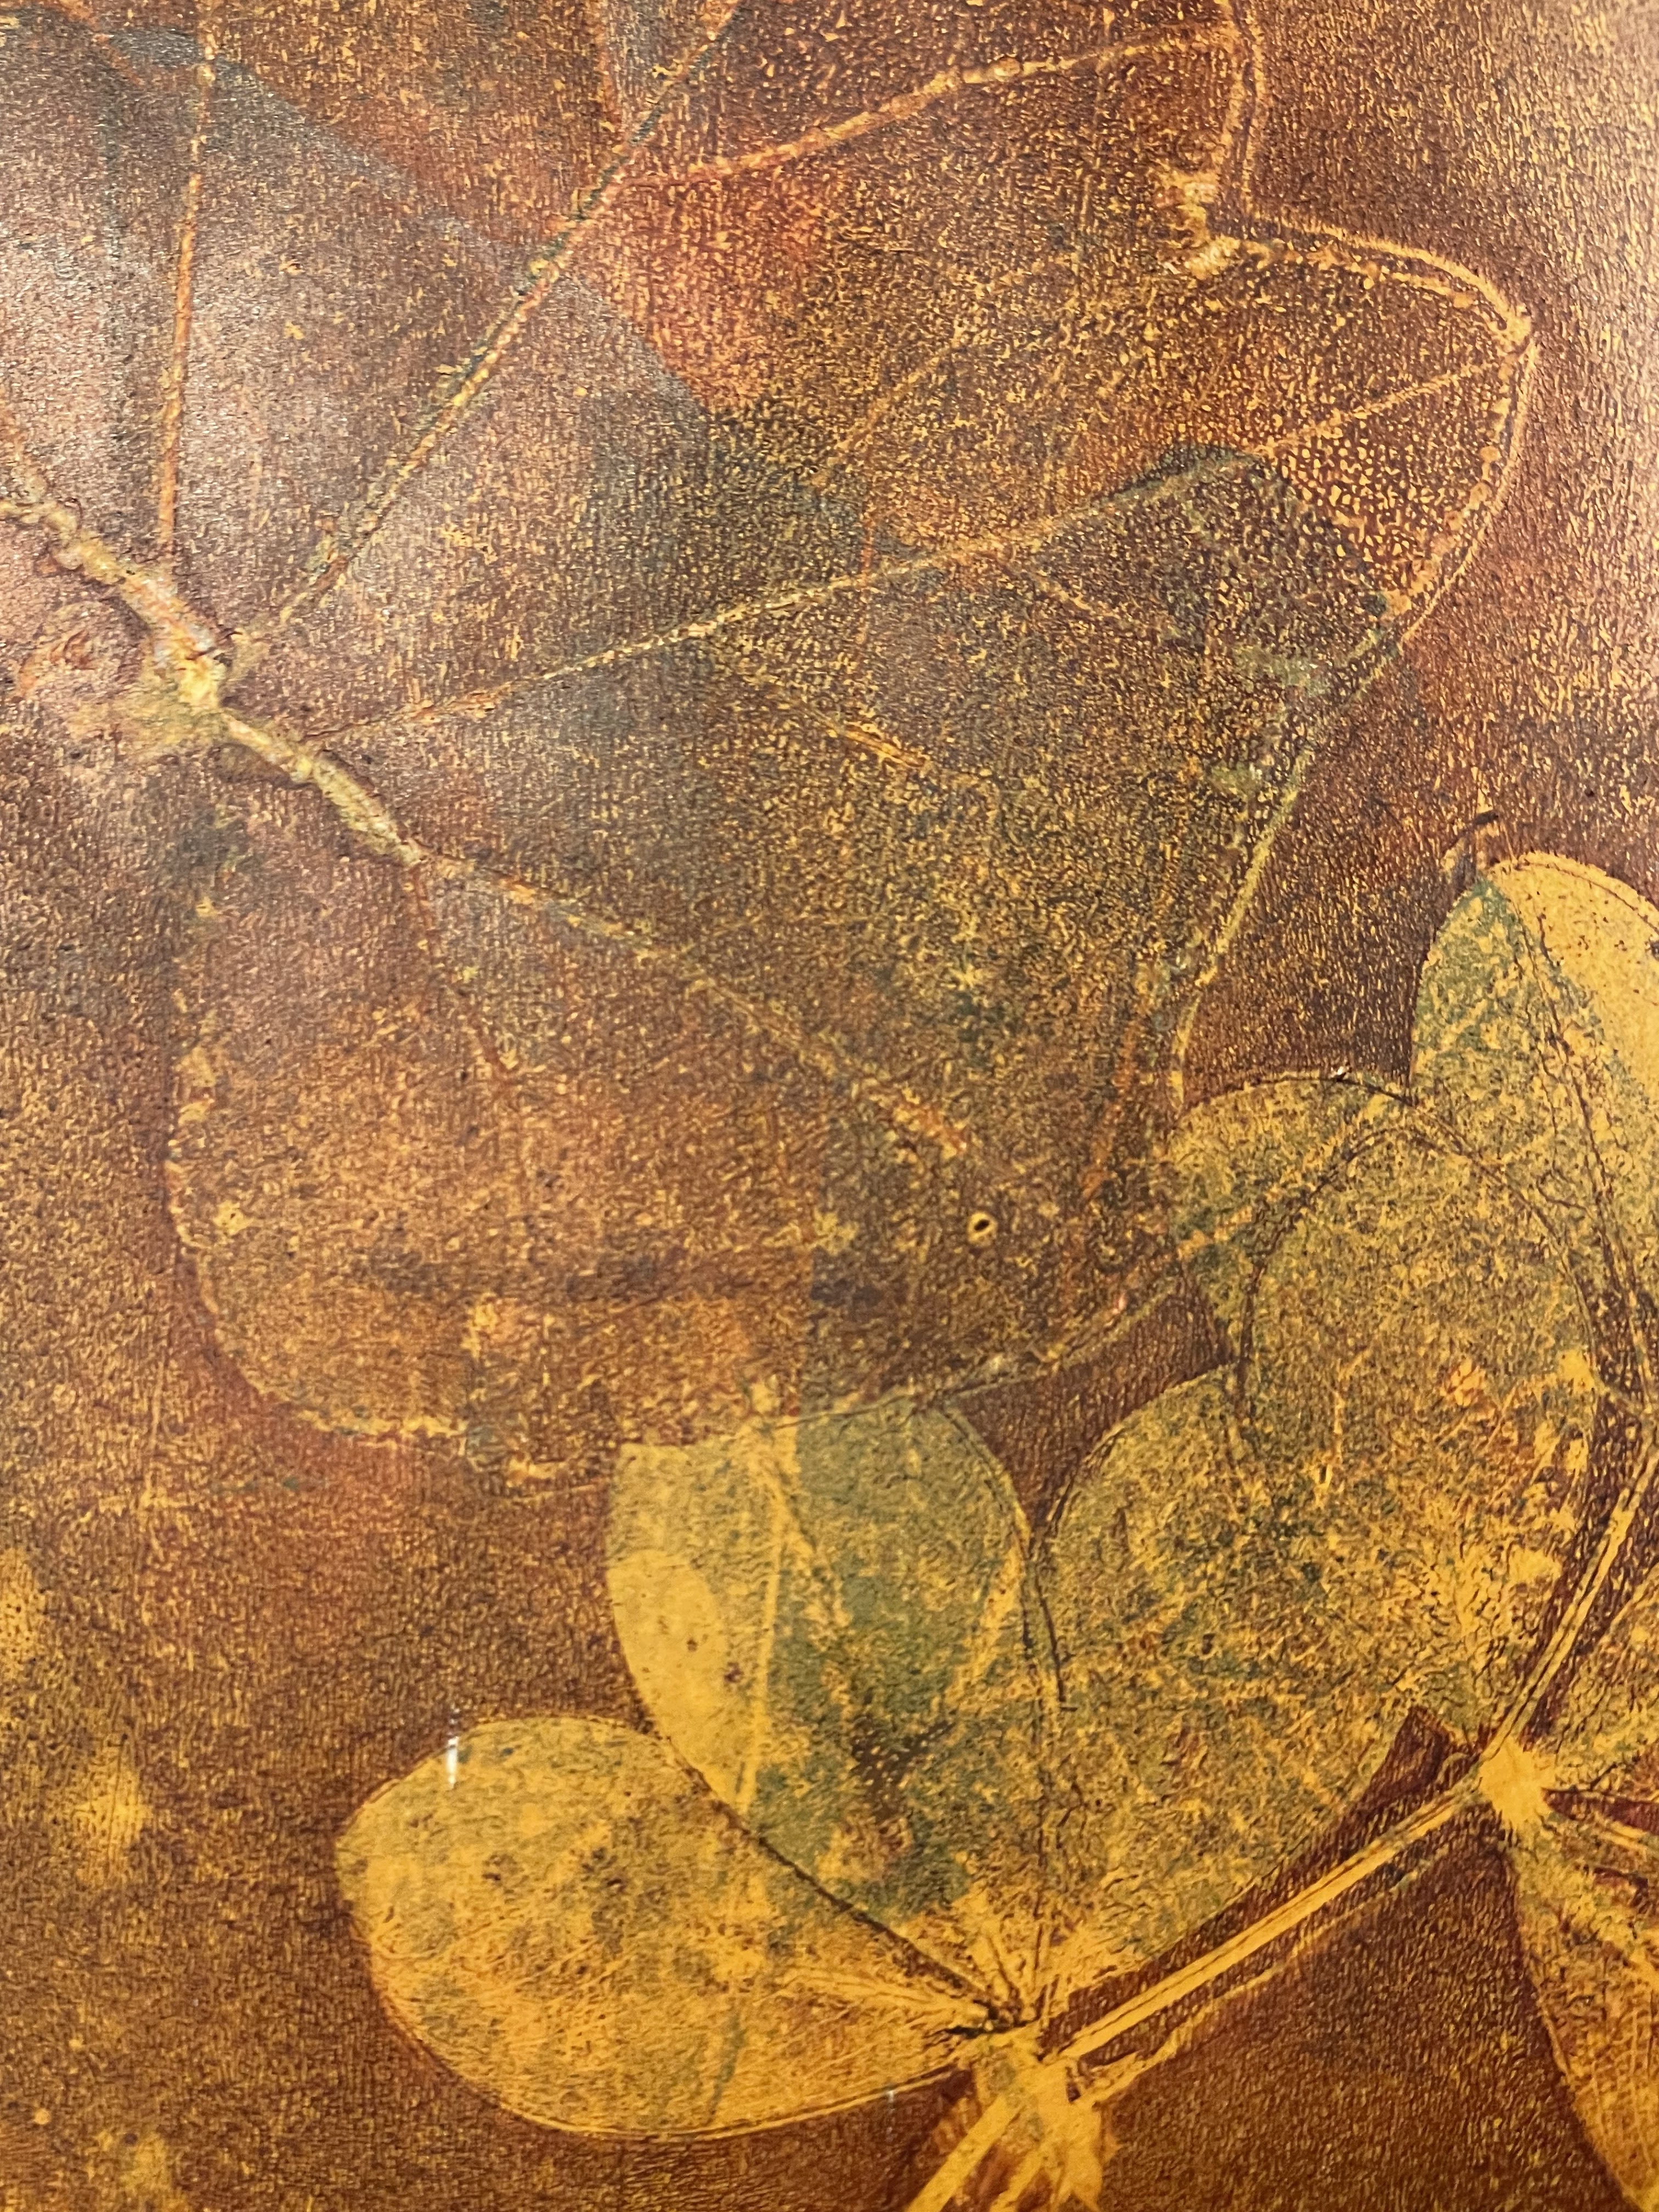
Gel plates  have been around for quite a while, and have been used a lot in the crafting world. I own several Gelli-Arts plates which I have used in a more crafty approach making botanical images by pressing leaves. 

I'm interested in how these are being used as a tool to make fine art. If you are interested in gel printing, the following resources are excellent. We are so lucky to live in a time where the internet allows you to do a deep dive learning about new art types and techniques. If I were going to recommend only two art channels on gel printing, it would be the following: 

Mark Yeates YouTube Channel offers many technique videos on using gel plates. His voice matches his generosity of spirit in sharing these techniques. His use of resist techniques is fascinating. He is based in the UK. 

Fulton Sim's YouTube Channel is a treasure trove of technique demonstrations for using gel plates to make art prints. He is based in Brooklyn, NY. His website says he has an MFA in Printmaking from Pratt Institute. Fulton Sim uses masking techniques a lot in his videos, and these are fascinating when they get to the final reveal. 

The above two channels will teach you a LOT about printmaking using gel plates specifically, if you try the techniques. I'm slowly and imperfectly trying each technique in a small format way. 

Linda Germain's site is another resource focused on "printmaking without a press".  She uses plates made of gelatin. I've made gelatin plates before, and they are fun. Many of the techniques used on gelatin plates transfer to gel plates.  

There are other tutorials on using gel plates that are worth viewing - many are excellent, while some have a tip or two that I want to remember. My collection of printmaking videos is here:  

https://youtube.com/playlist?list=PLv91uCHY_KFpL37ZWVEas-tdCOrMH4dy2&si=9F7884Tx92pj_2fy


The Best Ever Chewy Chocolate Chip Cookies

2025 update on this old post from 2007: 

I jinxed this cookie recipe below calling it The Best Ever.  It was a really, really good recipe. And then I got a new stove. Or a microwave. Or the butter industry changed the milk fat content in butter. Who knows? But the cookies made with MY favorite chocolate chip cookie recipe started yielding flat cookies. I think it's my stove, maybe...anyway, I had to develop a new cookie recipe, which I'm posting below the "best ever" cookie recipe.  If my old recipe works for you, then great! 


I've always wanted to write a "Best Ever" recipe. ;-) I developed this recipe by mistake. I was trying to soften the butter to make the Toll House recipe and I completely melted the butter. I decided to soldier on, but had to add in a bit extra flour, and the cookies ended up being the best ever. But I have tried making these in Florida and they flopped. I think it was the humidity. I put the name brands I use in as well for what I think might matter. People love these!


The Best Ever Chewy Chocolate Chip Cookies  
by Dixie Redmond at northdixiedesigns.com

2 sticks Land O' Lakes salted butter
3/4 cup white sugar
1 cup (not packed) dark brown sugar (I use Hannaford brand)
2 eggs
2 1/2 to 2 3/4 cups Unbleached King Arthur flour
1 - 2 tsp. vanilla
1 tsp baking soda
1 tsp salt
1 cup semi-sweet chocolate chips

Preheat oven to 375 degrees. Melt butter in microwave safe bowl for 2 minutes until melted (but be careful not to scorch the butter). Remove from micro, stir in sugars. I use a Danish whisk for this and it is great. Stir in the eggs until it is really well mixed. Next add the vanilla. Mix again. In another bowl mix the flour and salt and baking soda together. Add to the butter/sugar mixture and mix until very well blended. Add the chocolate chips. Drop golf-ball sized balls onto a cookie sheet. I use a cookie scoop for this which looks like a miniature ice cream scoop. Bake batch for 12 minutes. Cool on pan for 1 minute, then remove to wire rack to cool.

Here's an image you can print or pin 


UPDATED recipe.... 

Finally Successful Chocolate Chip Cookies 

2  1/4 to 21/2 cups sifted flour (depending on egg size) 
1 teaspoon baking soda
1 teaspoon salt 
3/4 teaspoons baking powder 
2 sticks softened butter

1 1/4 cup packed brown sugar
1/4 cup white sugar
1 teaspoon vanilla extract
2 eggs

Chocolate Chips  1-2 cups, your preference. 

Preheat oven to 375 degrees 

Whisk dry ingredients together. 

Cream sugars and butter together. 
Add eggs and vanilla extract to butter/sugar mixture. 

Stir dry ingredients into wet. 

Drop by 2 tablespoon balls on cookie sheet. 

Bake at 375 degree for 10-12 minutes. 


Throw Out the Art-making Rules

I just finished reading "The Other Alcott", about artist May Alcott, the sister of famous writer Louisa. It was interesting to read about her struggle to become an artist, and about connections with other women artists of her time. One of the artists was Impressionist Mary Cassatt. Fictionalized conversations between women artists, based on historical letters and writings, show the challenges women artists faced in that time period. Abigail May Alcott Nieriker submitted her works to the traditional Paris Salon and was accepted. Mary Cassatt left the Paris Salon behind and threw her lot in with the Impressionists. Ah, choices! I will look for a good book on Mary Cassatt now. 


This crayon rubbing was done in  Bangor, Maine, 
from items found in walking one block.

I've always felt constrained to stay in a lane, either folk art or fine art. But as I get older it's clear that an artist can make many kinds of art and that rules don't serve the artist much at all. So I let myself explore "folk art" and make other art that has no guardrails whatsoever. Emphasis on exploration! One doesn't have to constrain the other. See?  No rules! 


Patterns & Textures of Bangor, Maine and Beyond

Patterns & Textures of Bangor, Maine and Beyond  is live on the Bangor Public Library website. Free supplies are available at the Bangor Public Library for community members to use in making  crayon rubbings in the community. The Cyr Gallery at the library will display community members' crayon rubbings as well as art pieces done on paper by the Bangor Art Society in August. 


This painting is now sold. 

I did a crayon rubbing of a manhole cover, and then overprinted on top of it using acrylic paint and a gel plate as an experiment. The above piece is 12.5 inches x 27" in size. I like letting some of the design from the crayon rubbing show through transparent layers of paint. I'm looking forward to what the community brings into the library! The city is *filled* with texture and pattern opportunities. 


Courage Chickens: No Rules

After close to 2 decades of making folk art inspired by antiques, it has been fun (and necessary!) to do some art which has no rules and can be a totally experimental. I'm not trying to make things that look like old things, but am finding ways to incorporate antique folk art motifs in experimental prints. I'm looking to combine crayon rubbings with gel printing. Using folk art chicken motifs, I'm going to make a series of Courage Chickens.  Or maybe that should say, "Courage, chicken!"  We will see what comes of this.  Maybe they will be like a scorecard for a golf game. Maybe something will come that I like enough to frame and hang on my wall. 

Courage, chicken! 


A Beautiful Art Deco Grate Crayon Rubbing

 I've been looking at the grate in this building for years and years in Bangor, Maine. Recently I decided to do a crayon rubbing of it. No building was harmed in this process.   


So this past Thursday, I took an hour to do a crayon rubbing. The Green crayon is a little more wax-y than a black crayon. I think next time I will try black. This is part of a community texture gathering project done to be offered to the library. 

If you need supplies, Gravestone Rubbing Supplies has a special kind of paper which is perfect for doing crayon rubbings. 

More to come on the community project! 


Lessons in Melting Crayons


I'm continuing my journey in melting crayons to make palm sized crayons for crayon rubbings. I did a test where I melted inexpensive crayons and Crayola brand. The inexpensive crayons work well enough in crayon form but they did NOT melt as well as Crayola crayons. If you look at the test comparison below - the cheap crayons are the ones which are kind of lumpy, and the Crayola was much smoother. As far as silicon cupcake pans go, I liked the ones that are singles not in pan form. I used an Oxo brand. My goal is to make 100, and I think I will be done by the end of the week. This is for a project with a local library. More on that to come! 


"Do not let what you cannot do
keep you from doing what you can do."

John Wooden