Showing posts with label gelatin printmaking. Show all posts

Drafting the Declaration

Last year a copy of the Declaration of Independence was hung in the Oval Office. This prompted me to read the Declaration again, which led to looking at Thomas Jefferson's original drafts of the Declaration of Indepencence in the Library of Congress and available through the Monticello website. You can see images of the original documents here: 

 https://www.archives.gov/founding-docs/

While I was looking at the images of the original and earlier drafts online, I made screen captures and circled phrases that stood out to me. Some of these are very familiar, and some I didn't remember. I used copies of these phrases to learn how to transfer laser images onto a gel plate. In the process, I was playing with the interactions of text and color, stacking transfers on top of each other, and thinking about our country's 250th year. None of these were meant to be finished works of art to display. 

Some months later, I was talking with librarian Candis Joyce at the Bangor Public Library about an early copy of the Declaration of Independence coming to the library. I mentioned I had made a series of prints based on the Declaration, and she asked if they could see them. It was decided to include them in the June and July exhibit on the Declaration of Independence at the library. 


Benjamin Franklin and John Adams made edits to Jefferson's original draft of the Declaration of Independence. They are fascinating. You can see some of the edits attributed to them in the margins in of the early draft. 


Then the draft went to Congress for more changes. This process shows the Declaration is a document created by people of different perspectives. They had to come to an agreement about the kind of country they wanted to begin and build. Their discussions hammered out ideas in the Declaration which are important for us today in our 250th year. 

These gel prints were created as a learning process. I hope they encourage people to read the Declaration of Independence more closely and think about what it means for us all going forward after our 250th year. I am proud to be part of remembering where our country began, and to be part of bringing these ideas forward. 


Deep Dive: Making Art Prints Using Gel Plates

I thought I would repost this for people who want to learn gel printing. 

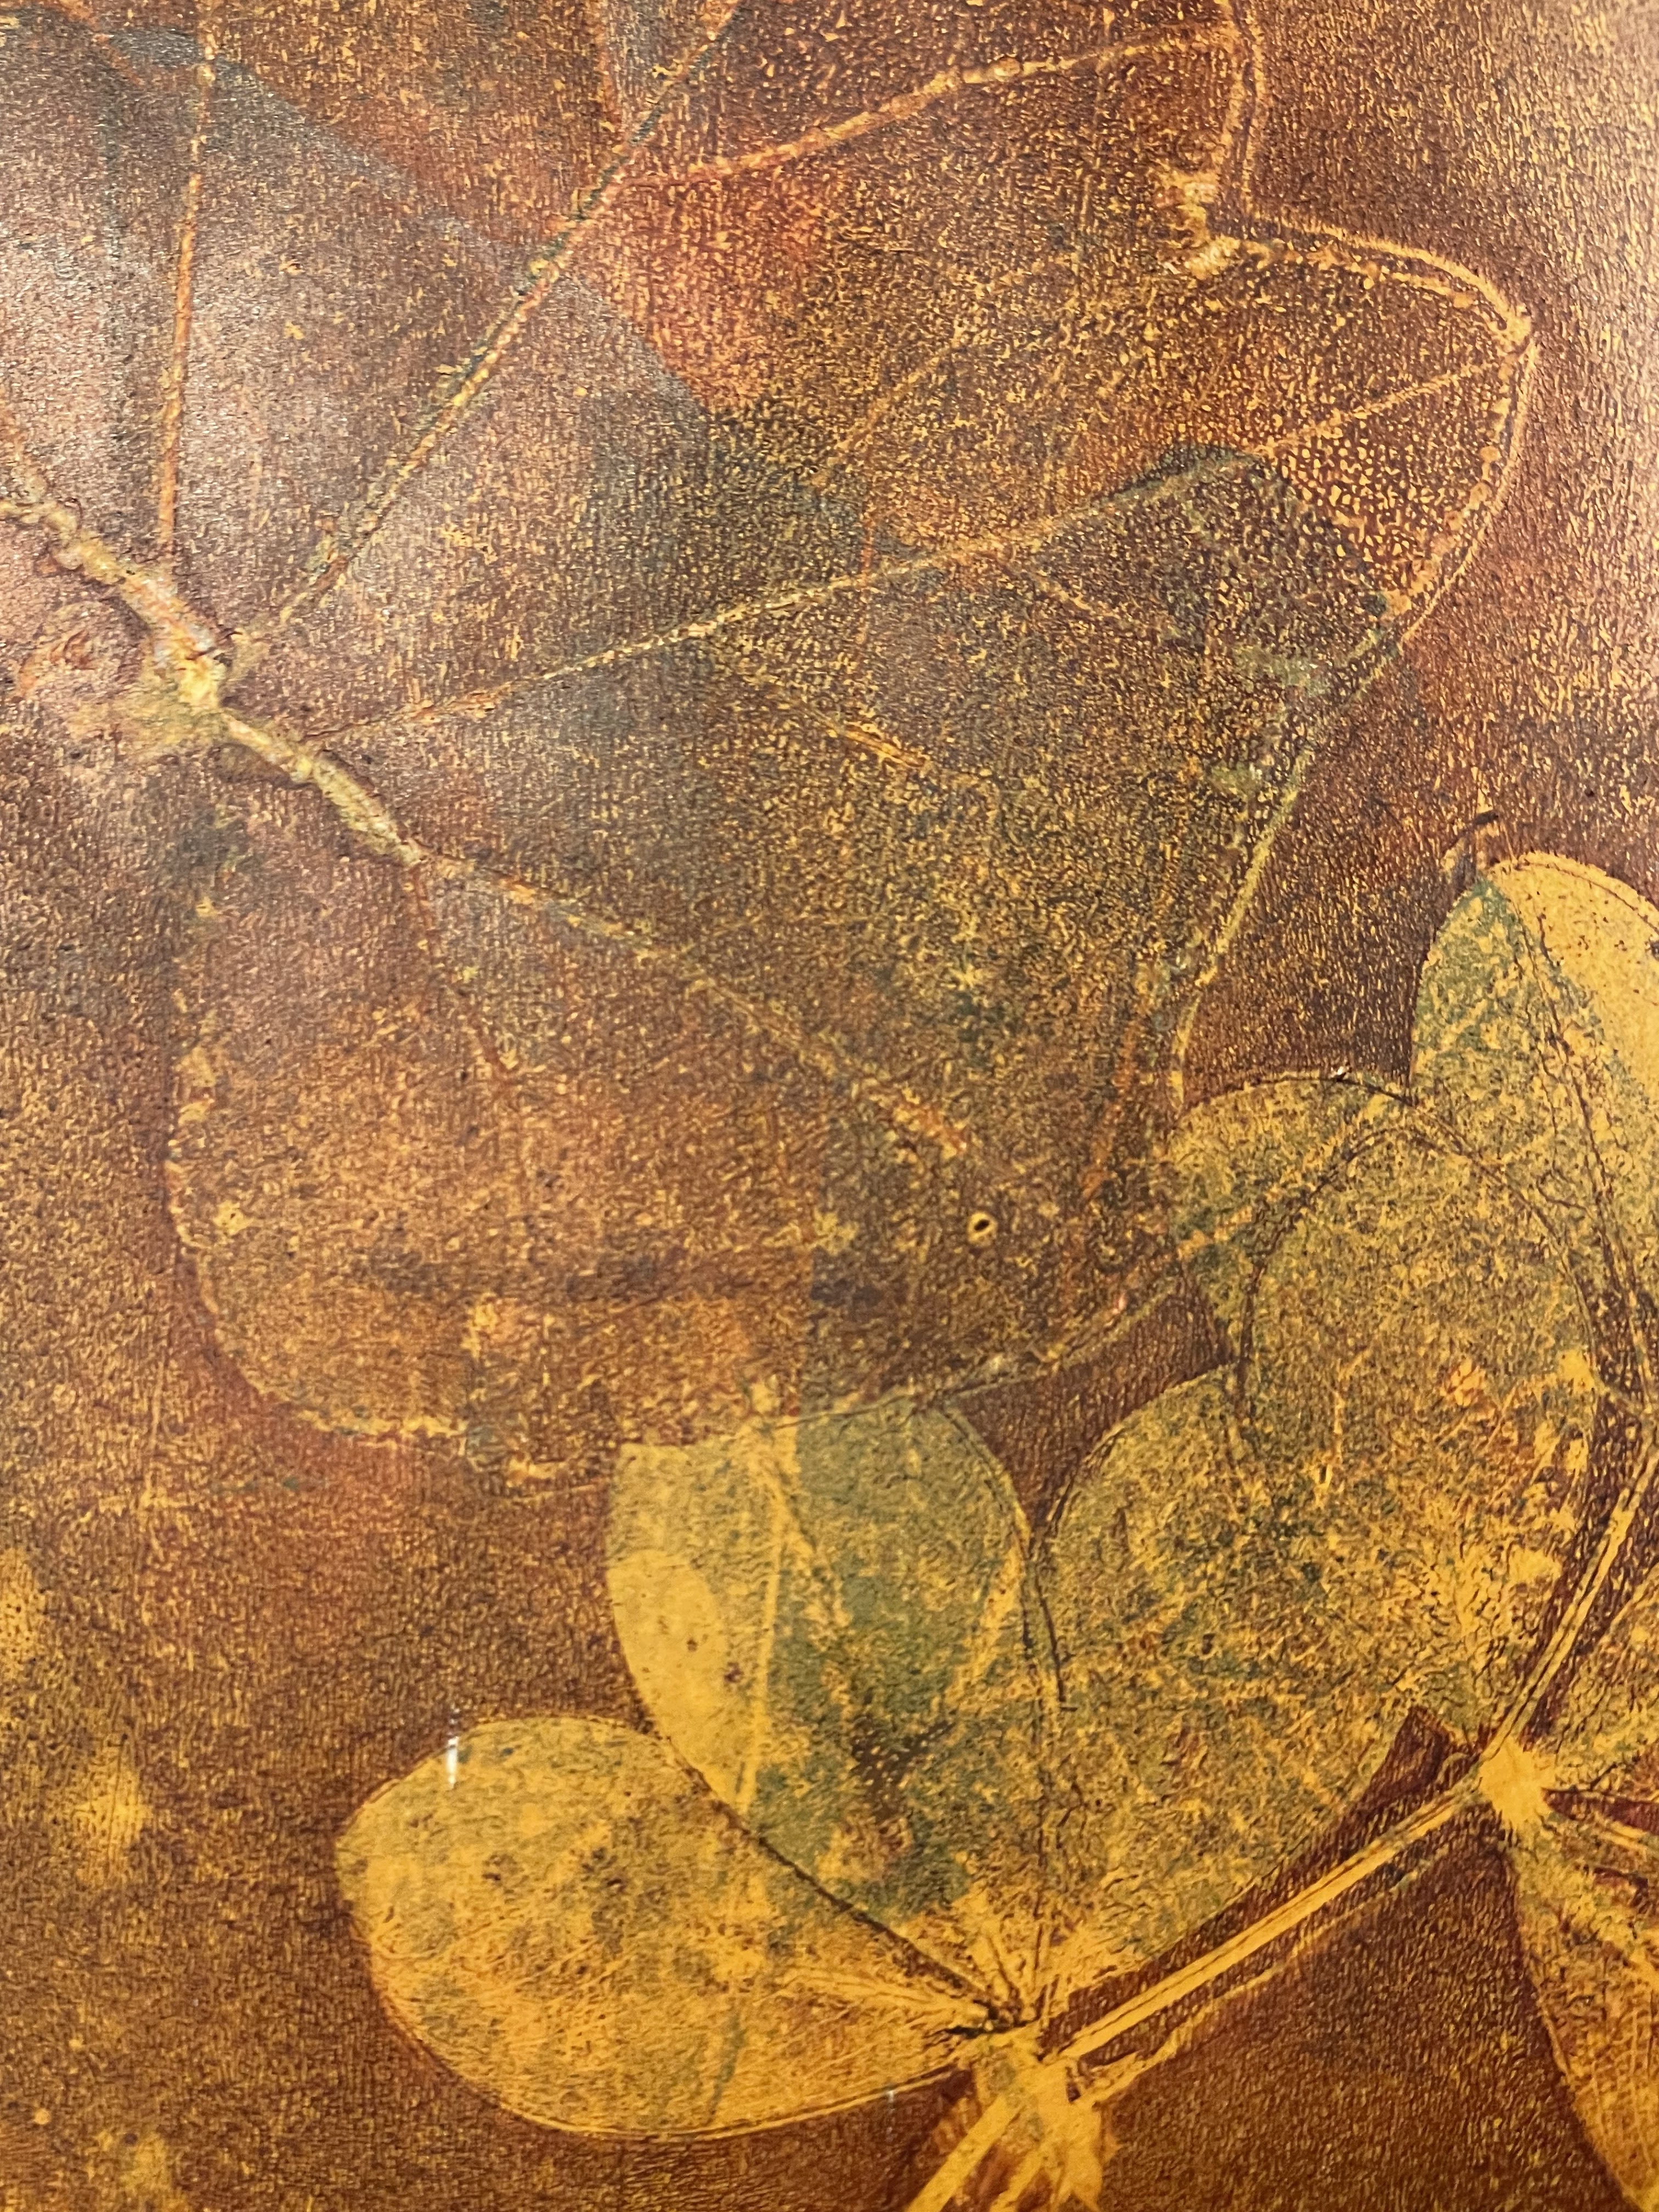
Gel plates  have been around for quite a while, and have been used a lot in the crafting world. I own several Gelli-Arts plates which I have used in a more crafty approach making botanical images by pressing leaves. 

I'm interested in how these are being used as a tool to make fine art. If you are interested in gel printing, the following resources are excellent. We are so lucky to live in a time where the internet allows you to do a deep dive learning about new art types and techniques. If I were going to recommend only two art channels on gel printing, it would be the following: 

Mark Yeates YouTube Channel offers many technique videos on using gel plates. His voice matches his generosity of spirit in sharing these techniques. His use of resist techniques is fascinating. He is based in the UK. 

Fulton Sim's YouTube Channel is a treasure trove of technique demonstrations for using gel plates to make art prints. He is based in Brooklyn, NY. His website says he has an MFA in Printmaking from Pratt Institute. Fulton Sim uses masking techniques a lot in his videos, and these are fascinating when they get to the final reveal. 

The above two channels will teach you a LOT about printmaking using gel plates specifically, if you try the techniques. I'm slowly and imperfectly trying each technique in a small format way. 

Linda Germain's site is another resource focused on "printmaking without a press".  She uses plates made of gelatin. I've made gelatin plates before, and they are fun. Many of the techniques used on gelatin plates transfer to gel plates.  

There are other tutorials on using gel plates that are worth viewing - many are excellent, while some have a tip or two that I want to remember. My collection of printmaking videos is here:  

https://youtube.com/playlist?list=PLv91uCHY_KFpL37ZWVEas-tdCOrMH4dy2&si=9F7884Tx92pj_2fy


The Story on the Edge of a Print

Joni Mitchell talked about how she alternated songwriting and painting. She called it crop rotation. Sometimes a field needs to lay fallow for a bit, planted with a cover crop. You cultivate a new area. The old field is still there, it's waiting, receiving nutrients for the next planting. 

I've been finding joy in layering color using gel plates. The above image is a technique experiment in pulling permanent magic marker from a gel plate using a layer of acrylic paint. There was no attempt at composition. It was a fast layering of color. I didn't focus on registering the layers together on the paper. Because of that, you get surprises at the edges of the print. It tells the story of the print. Below is an extreme closeup of a very tiny detail. At the edges, I see things to use in larger ways, on purpose, with planning. But that's a future post. 

Art Party: Making Gelli-Arts Prints

In early May, I hosted an art party for myself and a few friends. For a number of reasons, I had started feeling like a hermit. We had a very long, very cold winter where many people felt like hermits. I had even started calling myself that, jokingly. But that's not really who I am. I enjoy people, and enjoy hosting events. It just hasn't been the season to do that at home.


I wanted to plan an arty party. I couldn't do at my house. I thought about the John Wooden quote at the bottom of my blog. I found a place that rents space by the hour (COEspace). The rental of the space was a gift from my husband and boys for my birthday.  

We made prints using Gelli-Arts Printing Plates and Createx Monotype Colors.  I am not paid anything for mentioning these, but I told my sister I would write down all the supply names. I told her I would write down the process, and decided to do it as a blog post so I could write it down again.  This was an activity designed for "non-artsy" people.  And it truly is and can be. Of course, if you have art skills, you're allowed to use them.  ;-)  There is an art party album of art we made and some of the process.

Gelli-Arts plates were developed to be an alternative to "gelatin plate" printmaking, which is made with unflavored gelatin.  With the Gelli-Arts plate, you don't need to mix up gelatin plates, the Gelli-Arts plate is always ready.  I know I sound like a commercial, truly I am NOT being paid anything for this, I bought my own plates.  I love them, because life doesn't always allow for me to be mixing up gelatin plates.

Making Textural Prints with Gelli-Arts Plates:

Supplies Needed:  

Gelli-arts printing plate
Createx Monotype Colors
textural items to put on the plate
   (such as lace, leaves, cut-out paper shapes, etc.)
paper to print on
spackling knife for mixing colors
rubber brayers to roll ink on the plate
water for cleaning plates
paper towels for wiping plate clean

Process:

1.  Choose ink color/colors.  You can apply one color or you can mix colors with a spatula to form a unique and new color.  Squirt ink out and roll rubber brayer until the brayer is even coated.  

2.  Roll the inked brayer onto the Gelli-Arts plate so that the plate is inked as desired.


3.  Lay textural items on the inked plate.  Loosely woven fabrics, lace, leaves, etc

4.  Lay a piece of paper evenly onto the plate with the objects still on the plate.  Using the flat of your hand wipe in gentle motions from the center of the plate out.  You can also use a "barren", but most people used the flat of their hands and that was fine. 

5.  Remove print and set aside to dry. 

6.  Remove items on the plate and the print the "ghost" of the plate as well.  

7.  You can repeat the process so that you print on top of an already printed piece.  Layering creates a more complex image.  

Interactive Painting

The painting below was a group effort. I prepared a wood panel, painted in green, and set it out so that the people attending could paint random brushstrokes on the panel. 


It's now hanging above my fireplace, as a reminder of good times had with friends. 


We talked about doing it again, but next time we will combine it with a wine-tasting party.   Hmmmmm.  Wonder if that will affect our art process?  

GelliArts Plate: Printing Ghosts

I bought a GelliArts Monotype Plate with money I got for Christmas.  I used to do lots and lots of printmaking long ago....I love it as much as painting (maybe more?).  But without a press, it was hard to do.  Year before last I discovered gelatin printmaking without a press, and it opened up the thought process again.  But it is a several days process.  You have to make the gelatin plate one or two days before you do the actual printmaking.   But the GelliArts plate is ready when YOU are ready to do some printmaking.  

I found this awesome video on doing intaglio-like printmaking using the GelliArts gelatin like plate.  In printmaking, you can ink the plate and print a very clear dark print.  And then sometimes you can print again with the residual ink that is on a plate.  This is called printing the ghost.   The video below shows some different ways to use the GelliArts plate and styrofoam to make an intaglio-like  prints by printing the ghost on the actual Gelli-Arts plate.  I definitely want to try this!  


Doesn't that look like fun?  And also something that would be kid-friendly????

More on Printmaking with Gelatin Plates

On Wednesday I had a couple of artsy friends over to make gelatin prints.  This is where you pour a thick slab of unflavored gelatin and use it as a printing plate.  You roll ink on with a rubber brayer.  I used Creatix Monotype Ink, which is water-based. After ou ink your plate, you wipe ink off in various spots with Q-tips and makeup sponges and what have you.  You can mask certain areas so that they will print white.    You can use more than one color on the plate or you can print several different plates on one piece of paper. Anyway, it's a fun process, a not very exact process (it's hard to have registration marks for various colors), etc.  But fun on a winter day.  If you've been having to do a lot of exacting work, this is a nice vacation from that.

You can see the other posts I did on making gelatin prints here and here and here.   If you want to learn more, Linda Germain's site Printmaking Without a Press is a stellar resource. 

When I was taking pictures I noticed my browning Christmas wreath in the background.  The Christmas snowmen have gone, leaving other art dolls I usually have on the mantel looking like they are afraid of he wreath.   Hmmmm.  Maybe I should get rid of that!


~ Dixie Redmond

More on Gelatin Prints


It was interesting taking a print, then removing the objects on the plate and printing again.  That created a much more complex print. 


Monotypes: Printmaking with a Gelatin Plate


We had a blast making gelatin prints.   Directions for how to do it are here.  This is really about process.    This was a  very fun process!


Here are some pictures from the day:


The gelatin plates.


Roll ink out with a brayer.


Then roll the brayer over the surface of the gelatin
so that the surface is coated with ink.
Creatix monotype ink was what I had.


Lay objects like feathers
and string and paper shapes on the plate. 
You could use leaves from the yard. 
 

Lay the paper on top.


Smooth your hands 
over the back of the paper.


Pull the paper off.


We had a GREAT time!


Art Day: Printmaking Without a Press

 
When I was in art school one of my favorite ways to make art was with printmaking.  And one of my favorite types of prints to make was a painterly technique which involved using 3 plexiglass plates to make monotypes.   Each plexiglass plate would be rolled with a color of ink and then printed on the same piece of paper.   Before printing, you would wipe away places on the plates where you didn't want that color to print.  Or you could use sticks or other means to draw into the ink before printing.  This process required a printing press that costs thousands of dollars and lots of chemicals and a space to put a giant printing press in.  

We are not doing that at my house because I have no printing press and no space to put one of those big bad babies.  But today we are going to make prints with another mom and her son using gelatin plates. 

Monotypes are one of a kind prints, and gelatin plates are printing plates that are made of gelatin.  The squishy-ness of the gelatin plates means you can apply the paper on top of the plate to create a print, and use hand pressure or a roller to print it.

My son and I had an interesting time yesterday making the gelatin plates.  Let's just say this process has a slime factor involved.  I used directions by Linda Germain.  Please visit Linda's blog for more information, she has all the videos of the process embedded on her blog.

Here are pictures of our process for Art Day.  This is total play day for moms and our kids - all about learning a new technique.   I loved printmaking when I was in school, and am excited to try a form of printmaking that doesn't require a press. 

Thank you to Linda Germain for putting instructions and videos of this printing with gelatin plates online.   Please visit her blog for more information about the process.  Also, she gives lessons in the Massachusetts area. Visit Linda Germain's blog


And also thank you to Linda Packard for mentioning this process on her workshop blog.  For those of you in the Bangor, Maine area, Linda provides art workshops on different art techniques.  See her blog for Linda Packard's art workshops.


"Do not let what you cannot do
keep you from doing what you can do."

John Wooden